Using Centreon ISO el7
Note
Installation from Centreon el6 ISO is available here
Installation
Step 1: Start
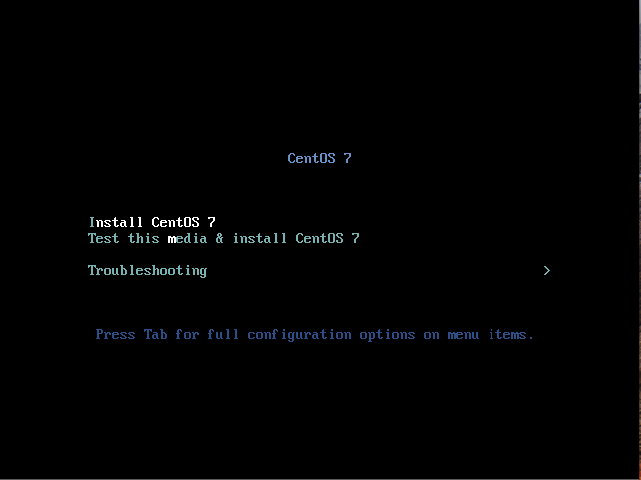
To install Centreon, start your server on the Centreon ISO image in version el7. Start with Install CentOS 7:
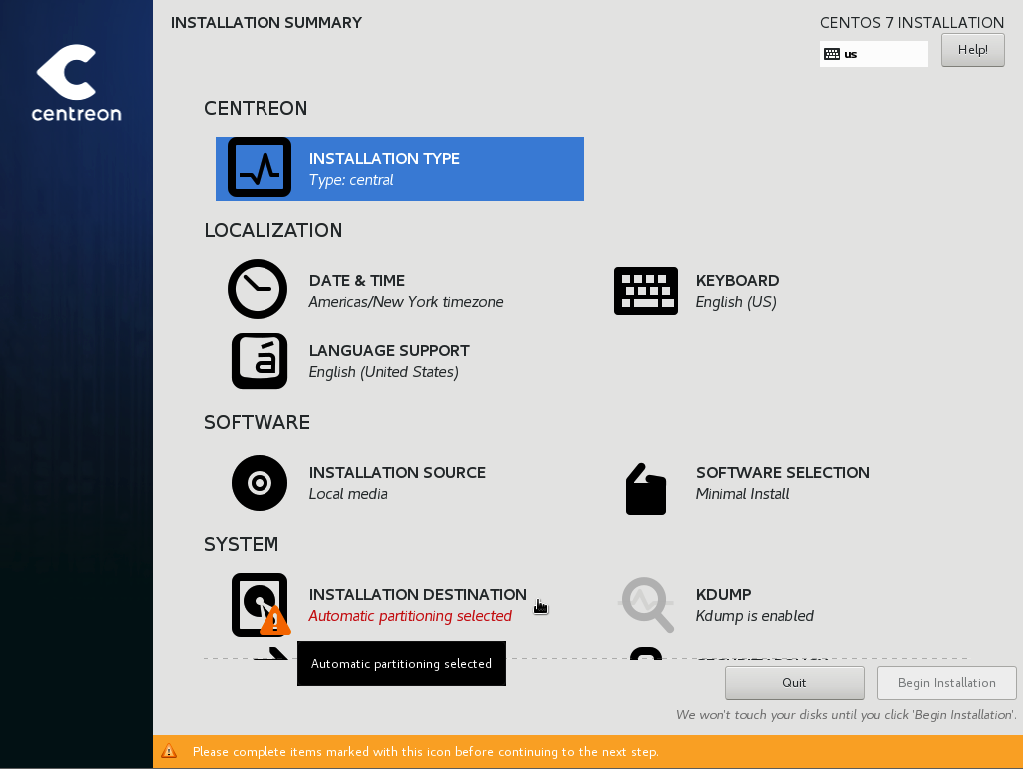
Step 3: Component selection
Click on the Installation Type menu:
It is possible to choose different options:
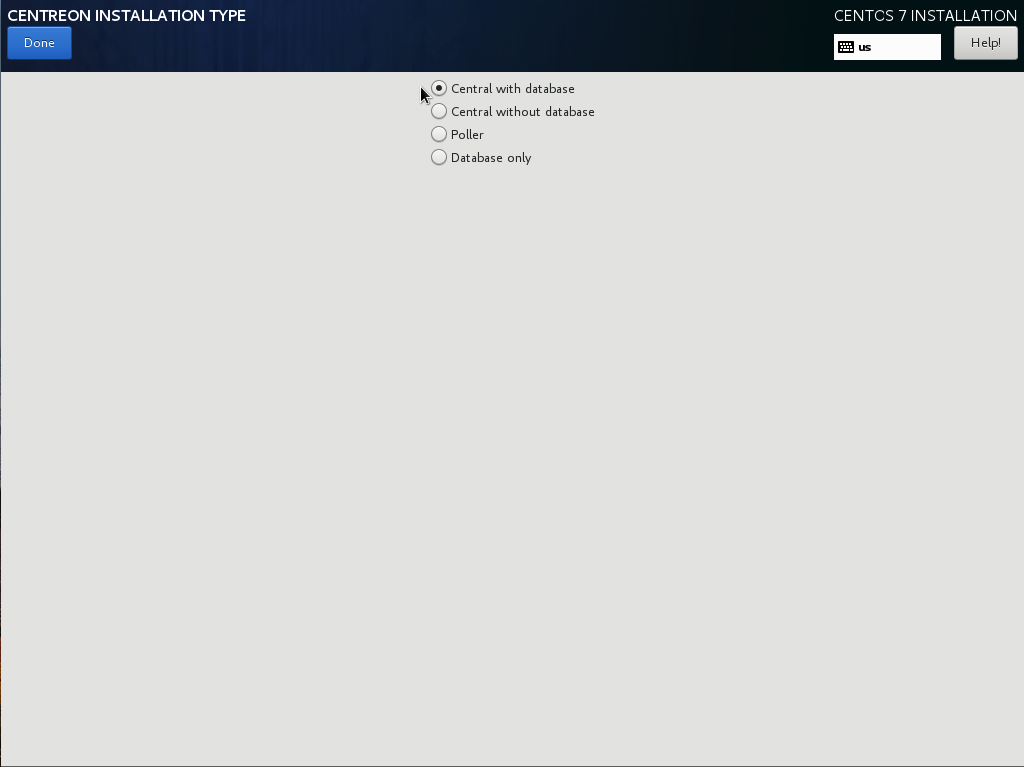
Central with database: Install Centreon (web interface and database), monitoring engine and broker
Central without database: Install Centreon (web interface only), monitoring engine and broker
Poller: Install poller (monitoring engine and broker only)
Database: Install database server (use with Central server without database option)
Step 4: System configuration
Partitioning of disk
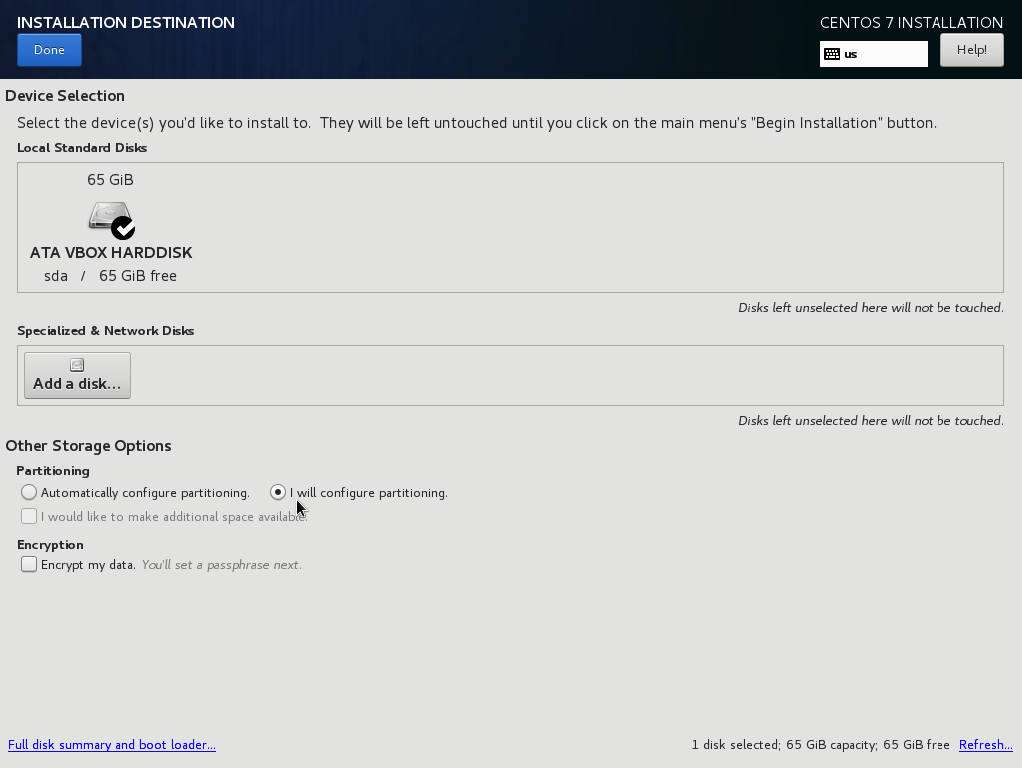
Click on Installation Destination menu:
Select the hard disk drive and the I will configure partitioning option, then click Done:
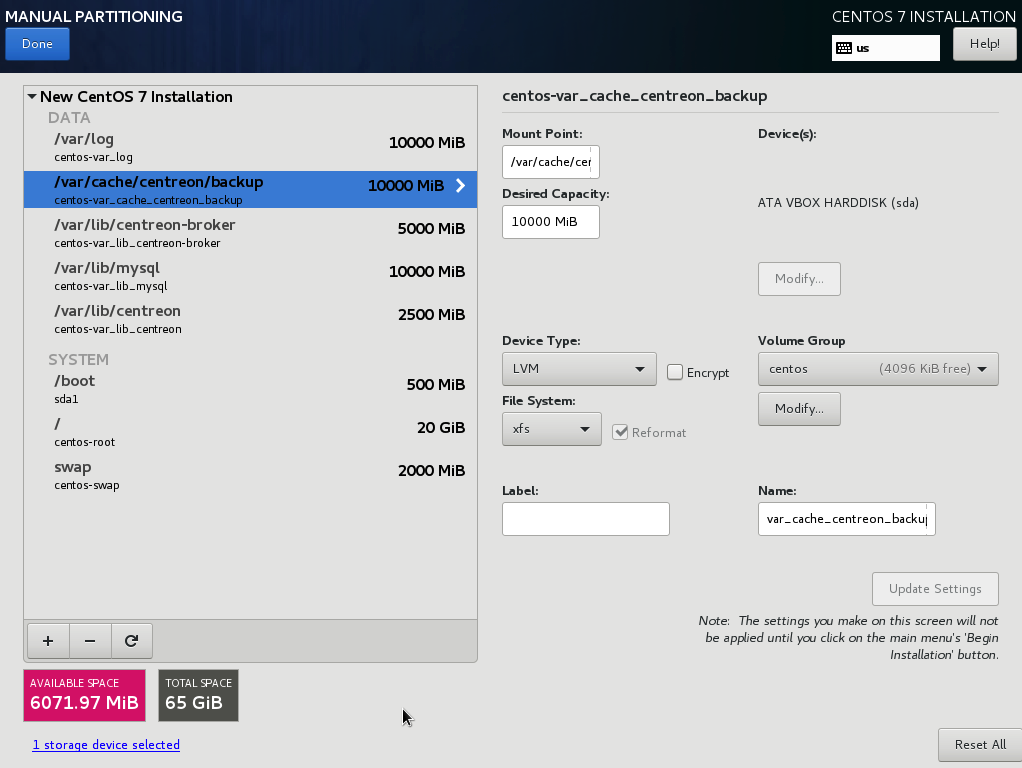
Using + button create your own partitioning file system following documentation prerequisites then click Done:
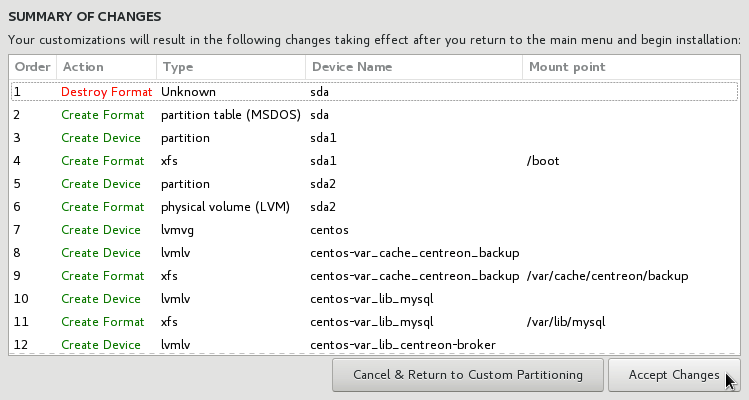
A confirmation window appears. Click Accept Changes to validate the partitioning:
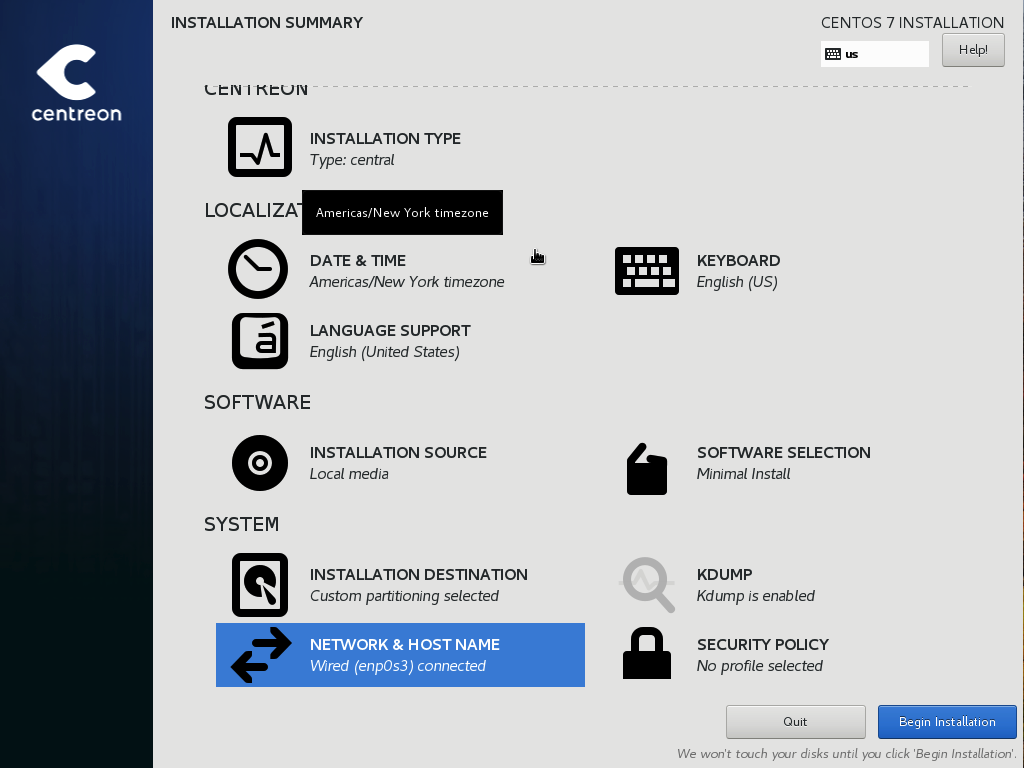
Network configuration
Click Network & Hostname menu:
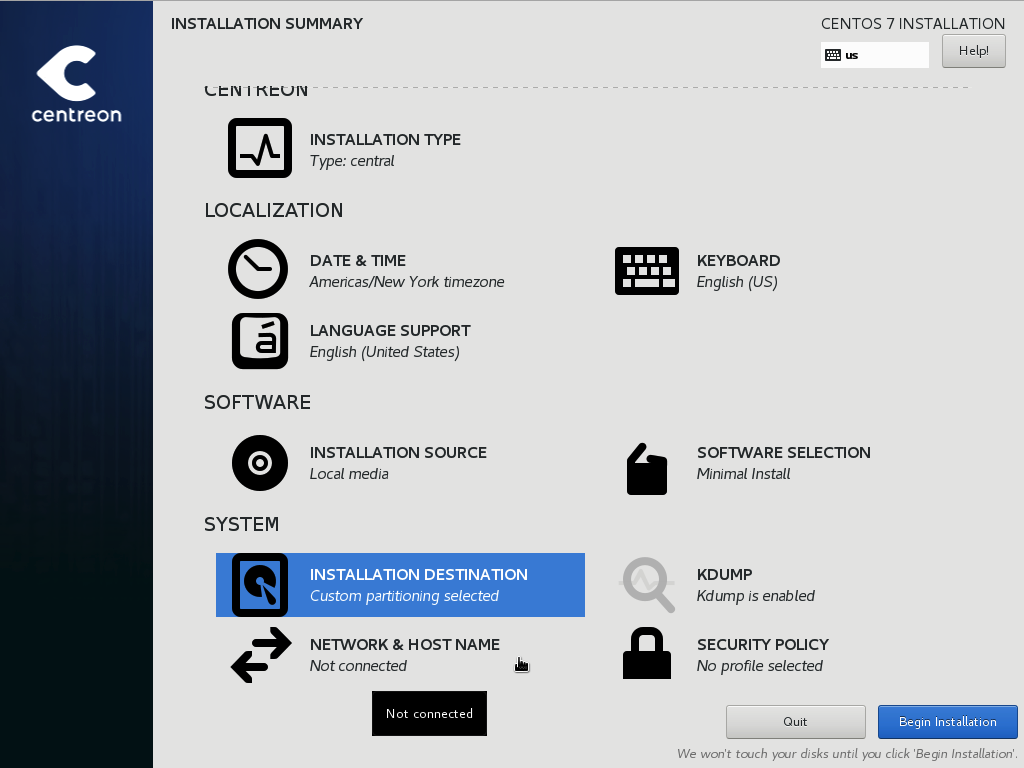
Enable all network interfaces and define hostname then click Done:

Timezone configuration
Click Date & Time menu:
Select timezone then click on configuration button:
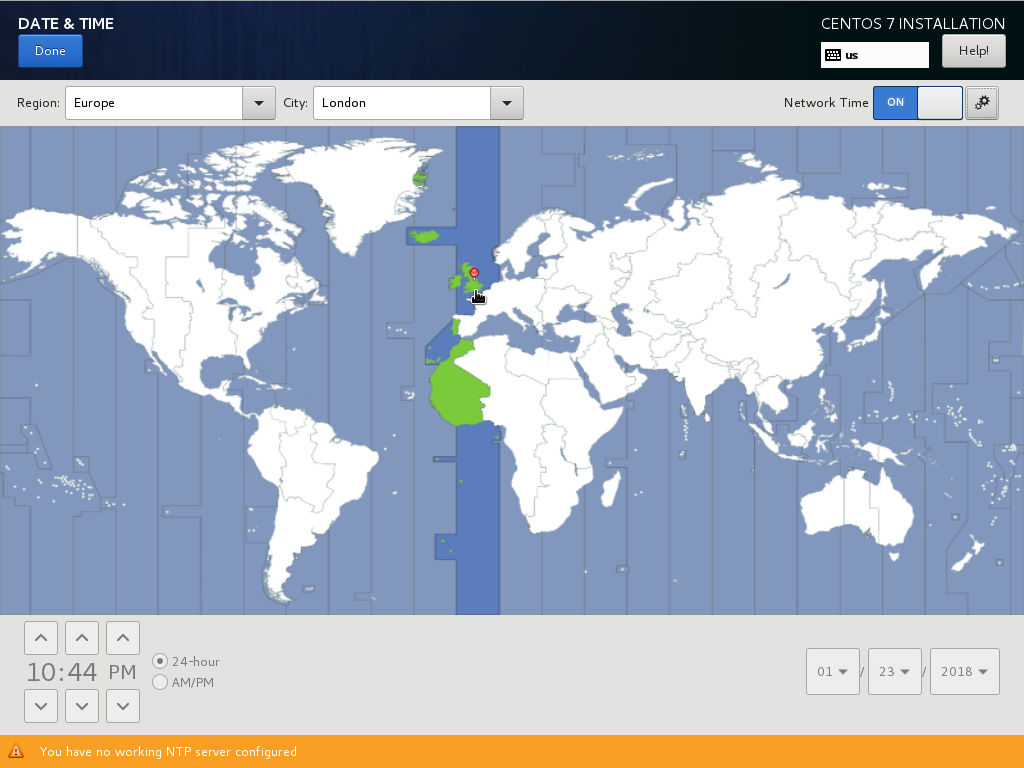
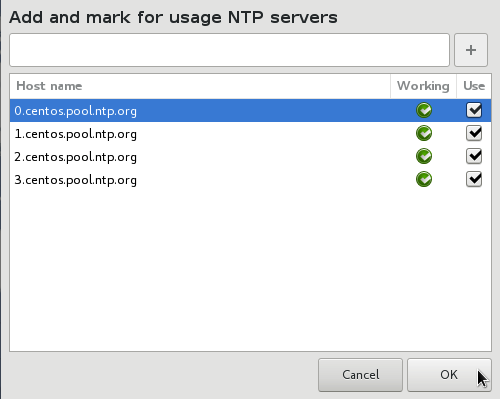
Enable or add a NTP server, click OK then Done:
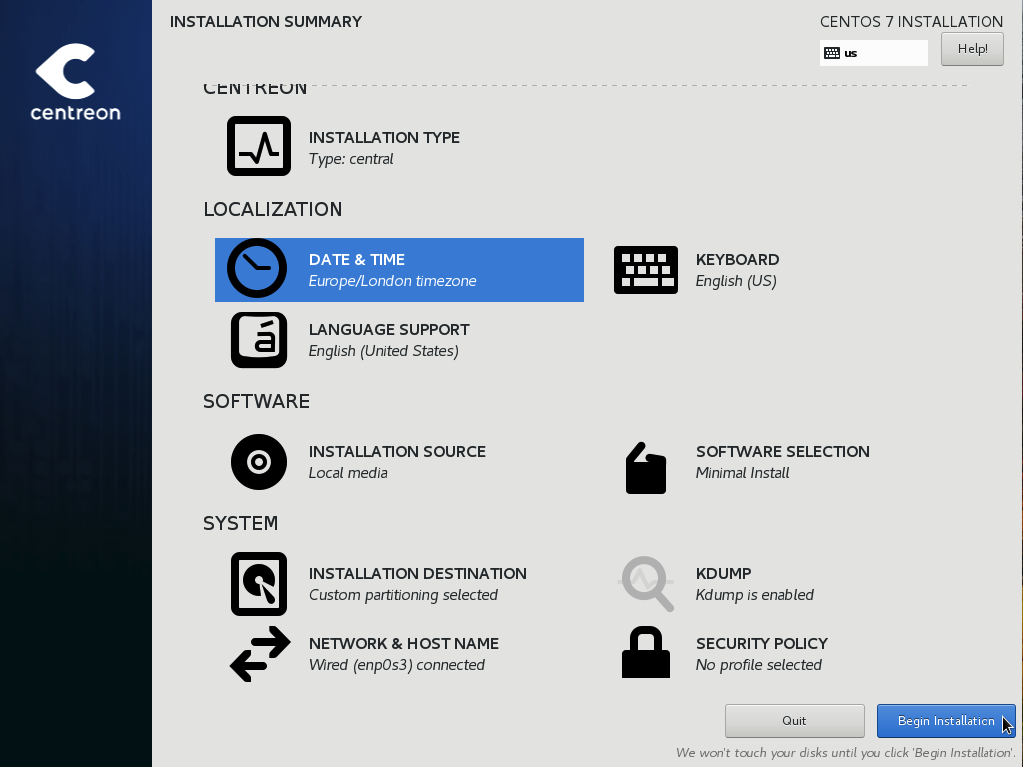
Start installation
Once configuration is over click Begin Installation:
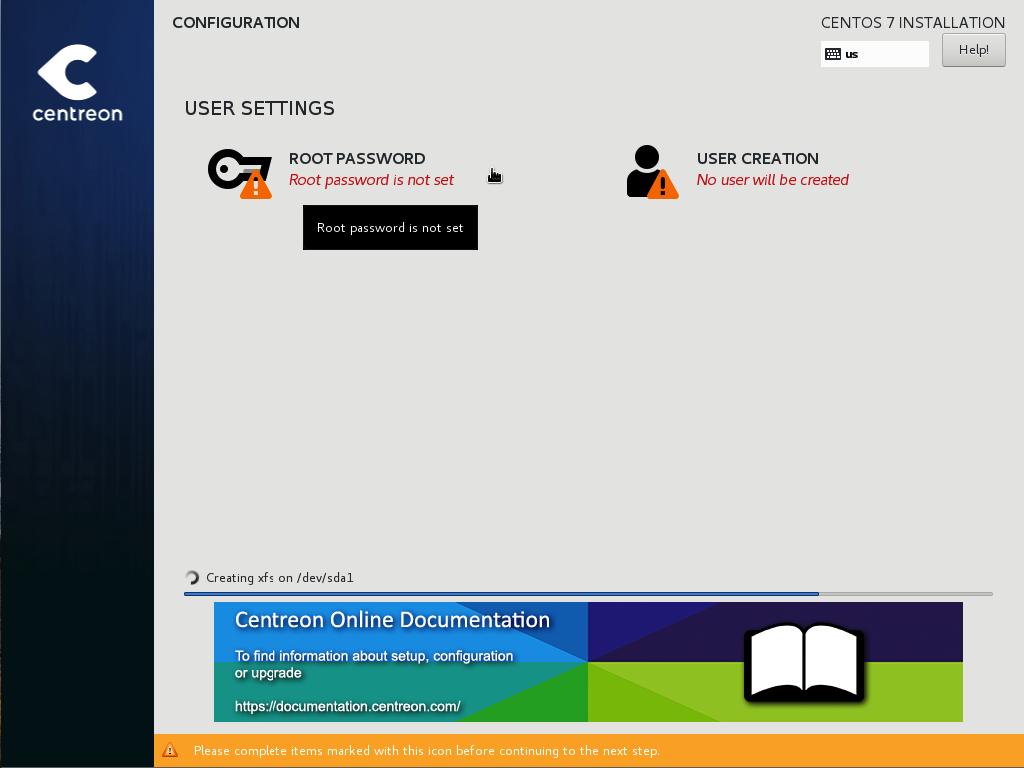
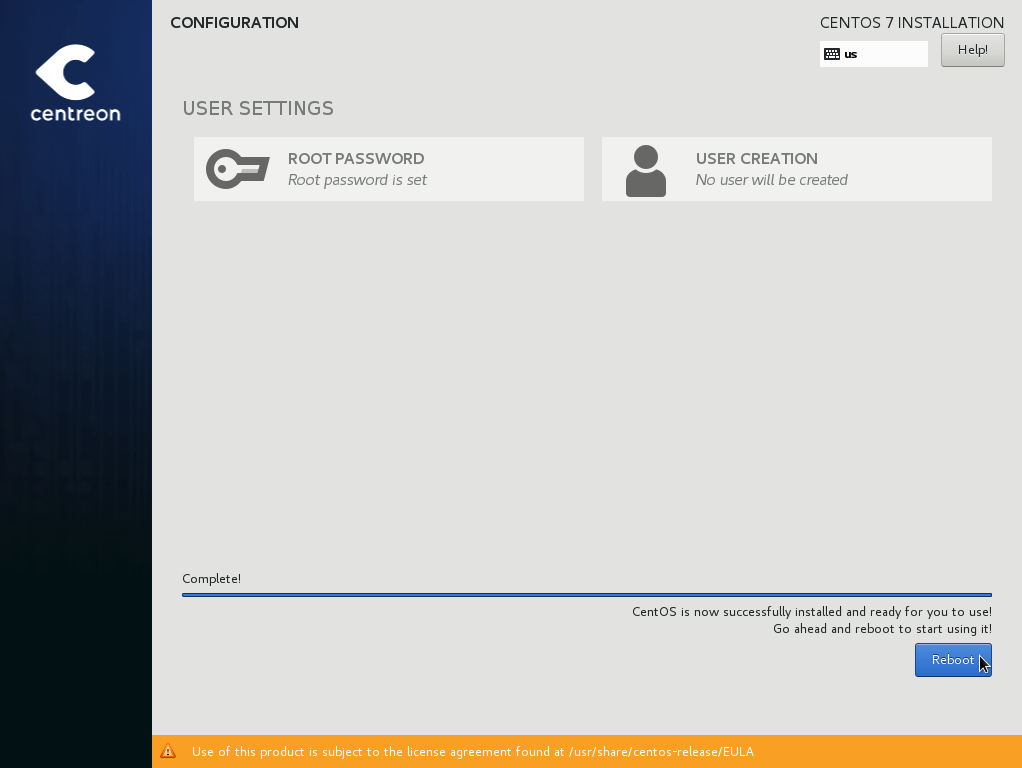
Click Root Password :
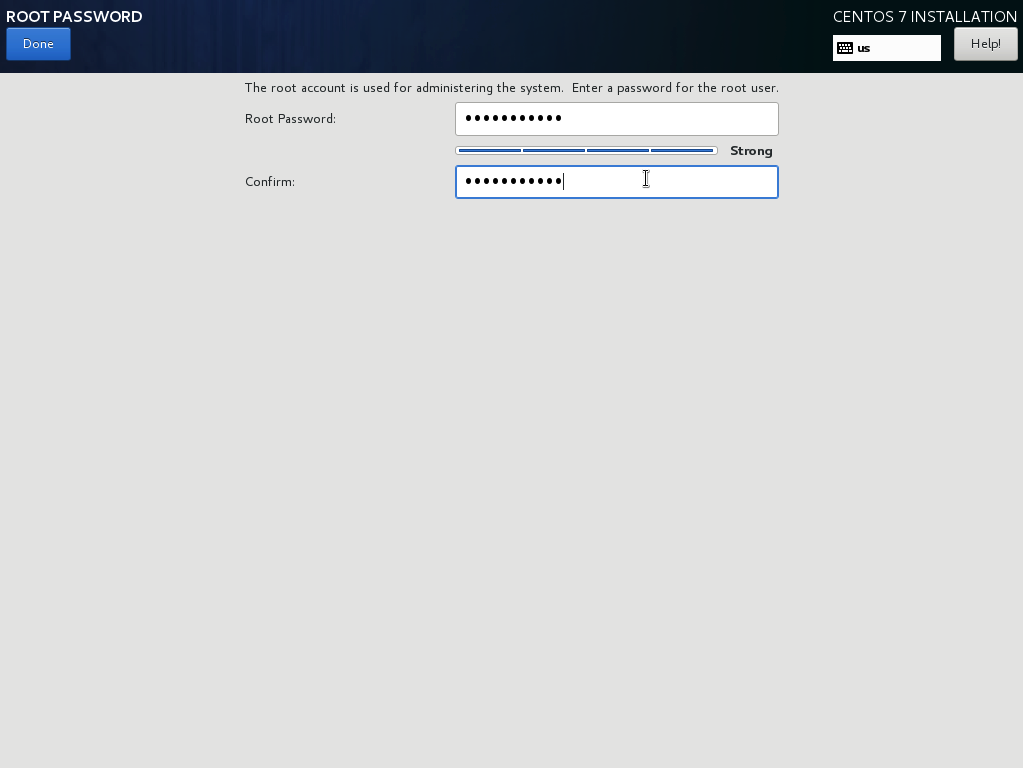
Define and confirm root user password. Click Done:
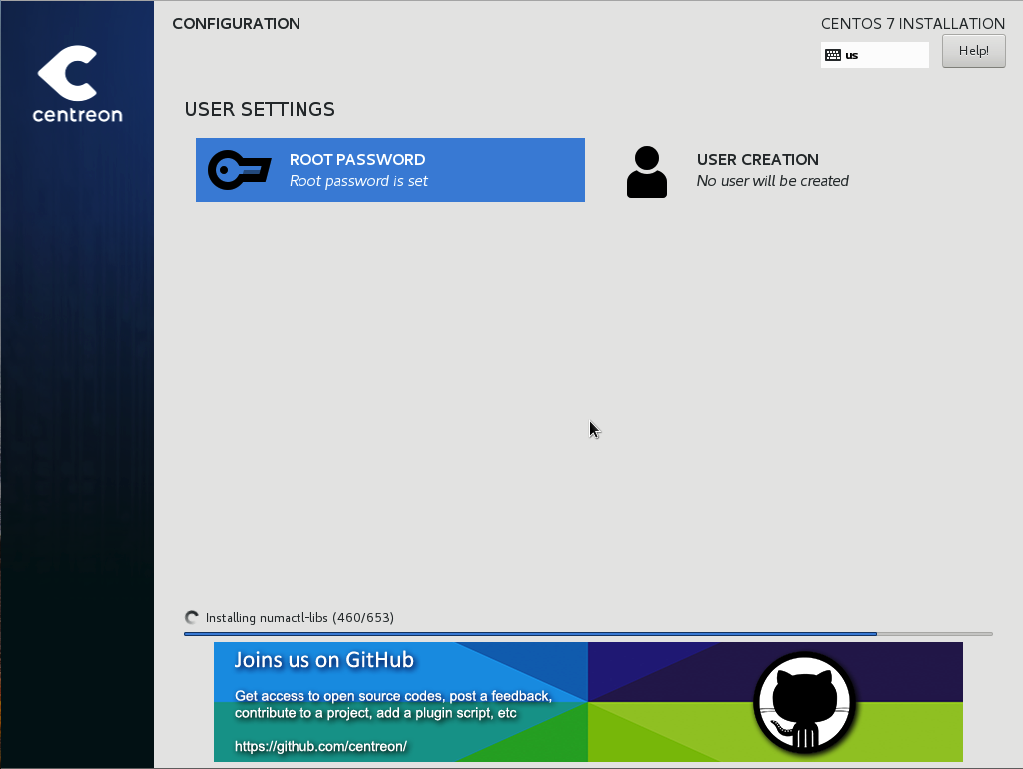
Wait during installation process:
When the installation is finished, click Reboot:
Update system packages
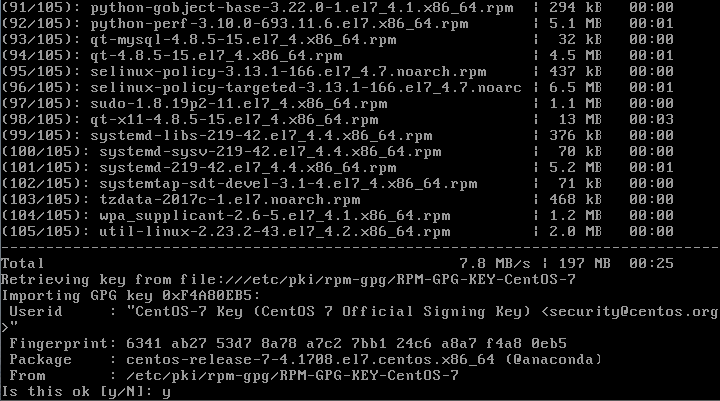
- Connect to your server using a terminal and execute:
# yum update
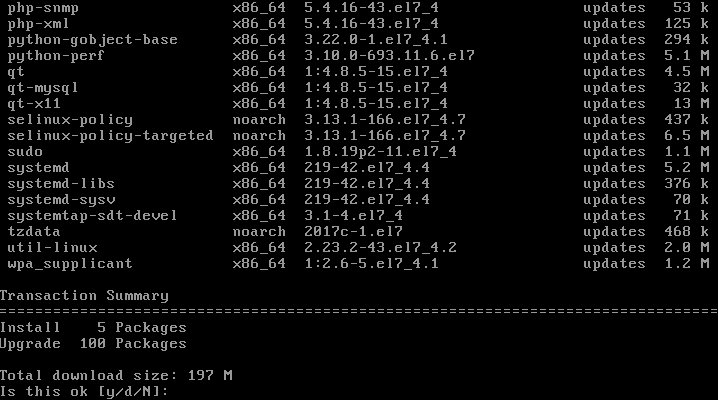
Accept all GPG keys:
- Then restart your server with following command:
# reboot
Configuration
Via the web interface
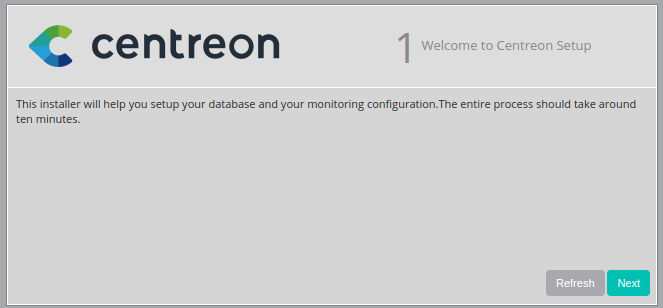
Log into web interface via : http://[SERVER_IP]/centreon. The End of installation wizard of Centreon is displayed, click on Next.
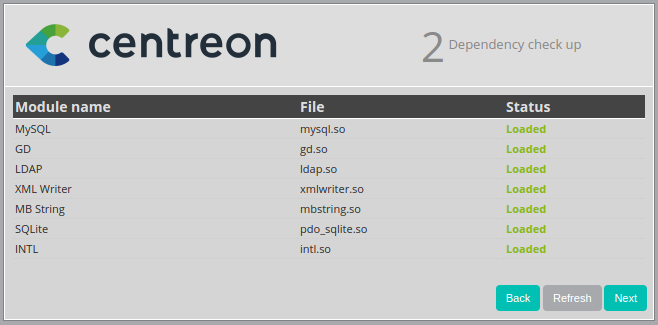
The End of installation wizard of Centreon checks the availability of the modules, click on Next.
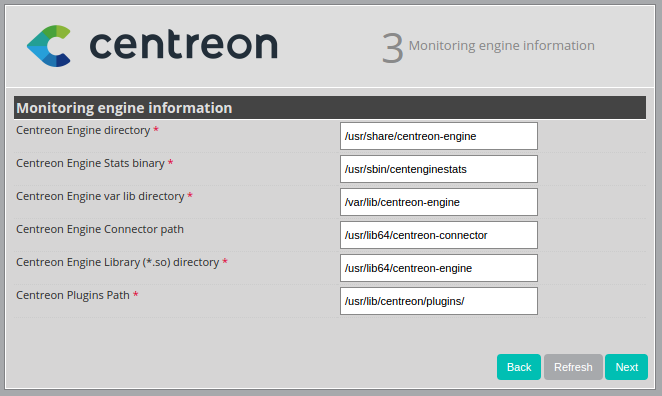
Click on Next.
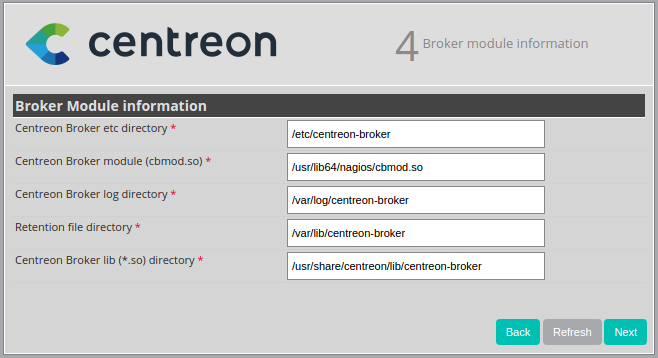
Click on Next.
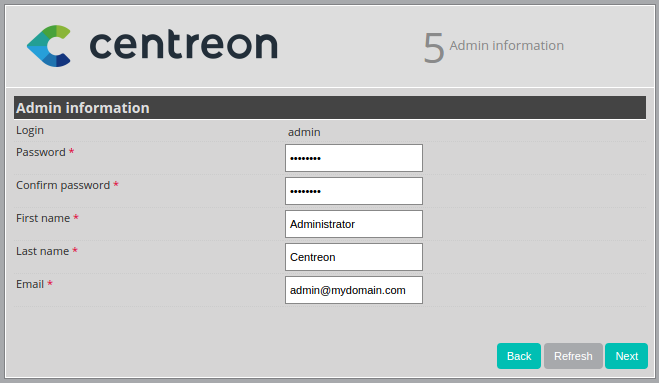
Define the data concerning the admin user, click on Next.
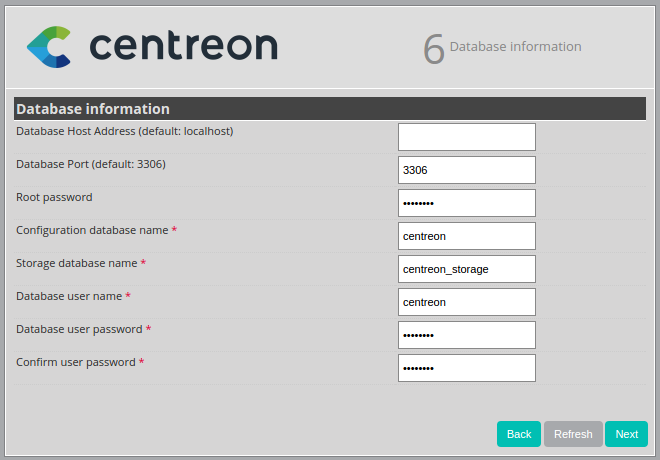
By default, the ‘localhost’ server is defined and the root password is empty. If you use a remote database server, these two data entries must be changed. In our box, we only need to define a password for the user accessing the Centreon databases, i.e. ‘Centreon’, click on Next.
If the following error message appears: Add innodb_file_per_table=1 in my.cnf file under the [mysqld] section and restart MySQL Server. Perform the following operation:
Log-on to the ‘root’ user on your server
Modify this file
/etc/my.cnf
Add these lines to the file
[mysqld]
innodb_file_per_table=1
Restart mysql service
service mysql restart
Click on Refresh
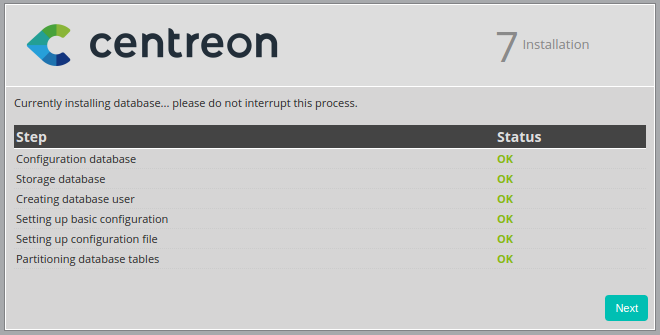
The End of installation wizard configures the databases, click on Next.
The installation is finished, click on Finish.
At this stage, an ad informs you of the latest Centreon news/products . If your platform is connected to the Internet, you will receive the latest information. If not, the information of the current version will be displayed.

You can now log in.

Start monitoring
To start the monitoring engine :
On the web interface, go to Configuration ==> Pollers
Leave the default options and click on Export configuration
Select Central poller from the box input Pollers
Uncheck Generate Configuration Files and Run monitoring engine debug (-v)
Check Move Export Files and Restart Monitoring Engine with option method Restart selected
Click on Export again
Log into the ‘root’ user on your server
Verify if services cbd, centengine and centcore is running
service cbd status
service centengine status
service centcore status
If they are not running, start them
Start Centreon Broker
service cbd start
Start Centreon Engine
service centengine start
Start centcore
service centcore start
Monitoring is now working. You can start to monitor your IT !
Introduction to the web interface
Centreon web interface is made up of several menus, each menu has a specific function:

The Home menu enables access to the first home screen after logging in. It summarizes the general status of the supervision.
The Monitoring menu contains the status of all the supervised elements in real and delayed time via the viewing of logs and performance graphics.
The Reporting menu serves to view, intuitively (via diagrams), the evolution of the supervision on a given period.
The Configuration menu serves to configure all monitored objects and the supervision infrastructure.
The Administration menu serves to configure the Centreon web interface and to view the general status of the servers.
Easy monitoring configuration
Centreon is great in itself, highly versatile and can be configured to fit the very specifics of your monitored infrastructure. However you might find it useful to use Centreon IMP to get you started in minutes. Centreon IMP provides you Plugin Packs which are bundled configuration templates that highly reduce the time needed to properly monitor the most common services of your network.
Centreon IMP needs the technical components: Centreon License Manager and Centreon Plugin Pack Manager to work.
Install packages
When using Centreon ISO, the installation of Centreon Plugin Pack Manager is very easy. You’ll see that Centreon License Manager will be installed too as a dependency.
$ yum install centreon-pp-manager
Web install
Once the packages are installed, you need to enable the module in Centreon. So go to the Administration -> Extensions -> Modules page.

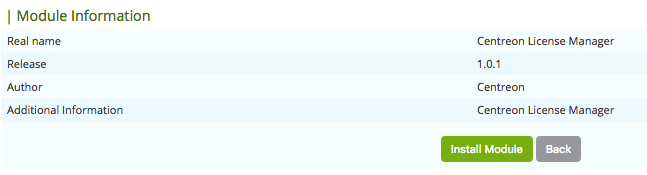
Install Centreon License Manager (dependency of Centreon Plugin Pack Manager) first.
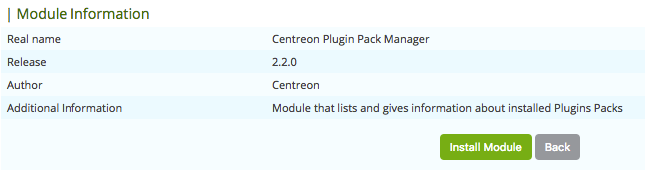
Then install Centreon Plugin Pack Manager itself.
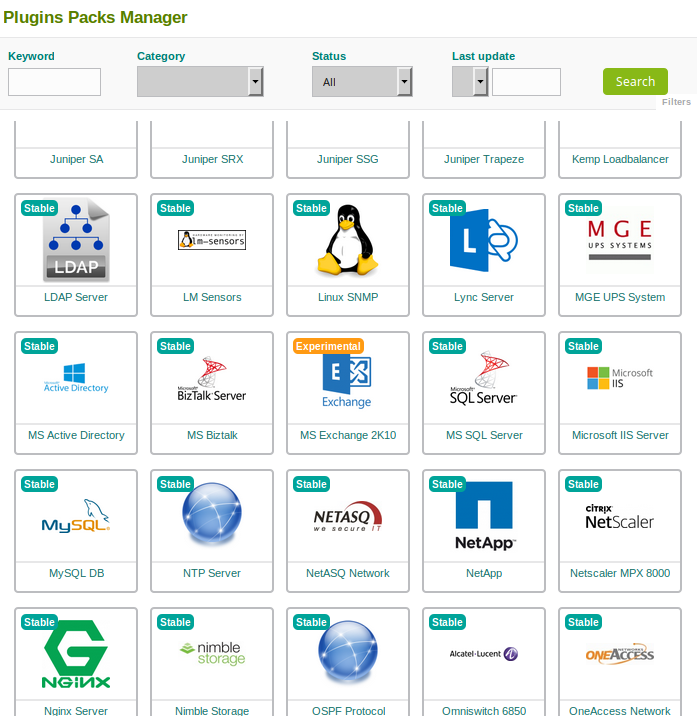
You’re now ready to go to Configuration -> Plugin packs -> Manager. You’ll find there 10 free Plugin Packs to get you started. 5 more are available after free registration and 150+ if you subscribe to the IMP offer (more information on our website).
You can continue to configure your monitoring with Centreon IMP by following this guide.