Tips and tricks
How to create a firefox profile
Use your firefox for create a profile. Add your information into this profile (add proxy configuration, add-ons...).
To optimize your firefox profile for Selenium. Open the “Run” windows and enter the following command
firefox -p
Create a new user profile and start Firefox with this new user. In the URL bar type :
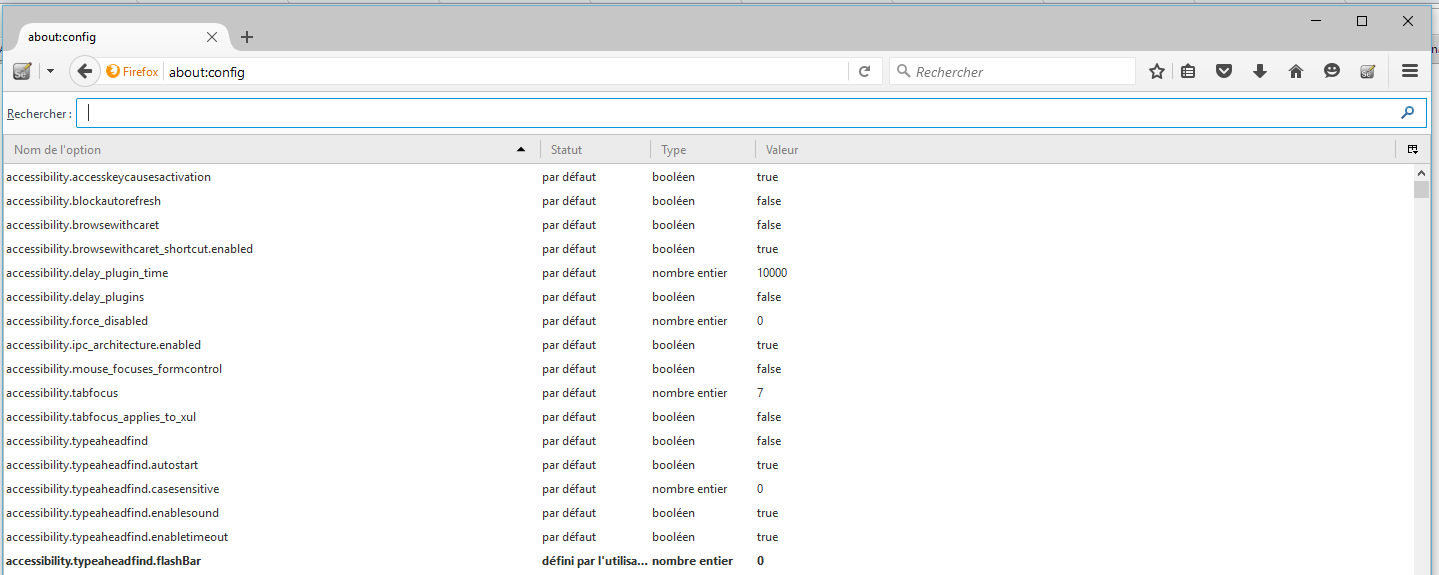
about:config
Finally, enter set the following parameters to optimze your selenium profile
browser.cache.disk.capacity = 0
browser.cache.disk.enable = false
browser.cache.disk.smart_size.enabled = false
browser.cache.memory.enable = false
browser.cache.offline.enable = false
app.update.auto = false
app.update.enabled = false
app.update.silent = false
When the configuration is finished, you must copy the profile into a directory in Selenium server. You must remove cache directory from profile directory and verify the size of this profile. If the profile if to large, it can cause some perfomance issues. For finish the configuration, you must modify the default script of Selenium for change the SELENIUM_FFPROFILE and restart the Selenium server.
Deactivate add ons auto update
The auto update block the start of firefox browser and cause a Nagios timeout. For deactivate the auto update, go to Options > Advanced > Update and uncheck the options in section Automatically check for updates to
Pause in scenario
If you have some latencies problem in your site, you can add some pause in your scenario and think to use clickAndWait action.
Provide details in case of an error in a scenario
When an scenario fails, it is not always easy to find the cause of the problem. Newer versions of the plugin will print the selenium command that failed, but it is not so readable.
To help find the cause of problems, it is possible to add text information before one or more selenium commands. In case of an error, the plugin will display this last information that was read in the scenario.
This feature can be used with the “echo” selenium command. This is an example of a scenario that fails:
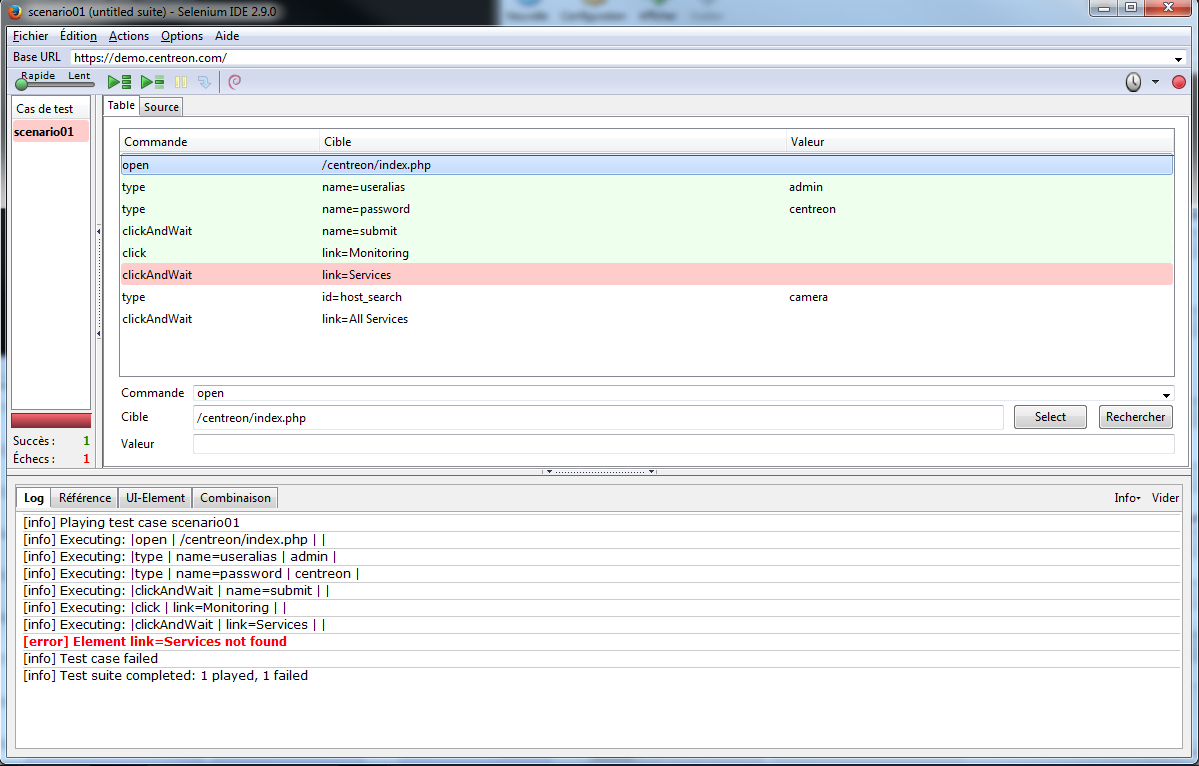
Without modification of the scenario, the output of the plugin will be
CHECKWEB CRITICAL - clickAndWait link=Services - Execution time = 10.689183s Test Ok 5/8 |'time'=10.689183s;50;60 'availability'=62%;;;0;100
Now we can add some additionnal information in the scenario:
In this case, the output of the plugin will be
CHECKWEB CRITICAL - clickAndWait link=Services - Ouverture services - Execution time = 10.689183s Test Ok 9/11 |'time'=10.689183s;50;60 'availability'=62%;;;0;100
Note the extra “Ouverture services” text displayed, that corresponds to the echo command of the scenario