Using Centreon el7 ISO
Installation
Step 1: Starting up the server
To install Centreon, start up your server from the Centreon ISO image in version el7. Start up with Install CentOS 7:

Step 2: Choosing a language
Choose the language for the installation process and click on Continue:

Step 3: Selecting components
Click on the Installation Type menu:

You have different options to choose from:
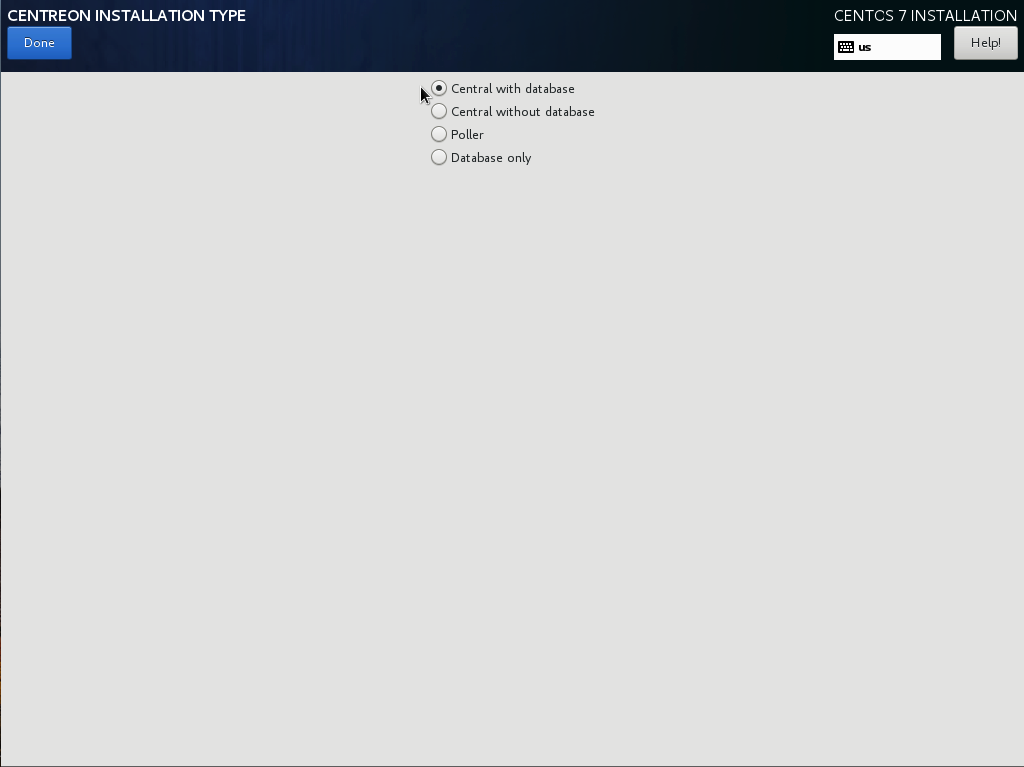
Central with database: Install Centreon (web interface and database), monitoring engine and Broker.
Central without database: Install Centreon (web interface only), monitoring engine and Broker.
Poller: Install poller (monitoring engine and Broker only).
Database: Install database server (if you have already installed a Central server without a database option).
After selecting your installation type, click Done.
Step 4: System configuration
Partitioning the disk
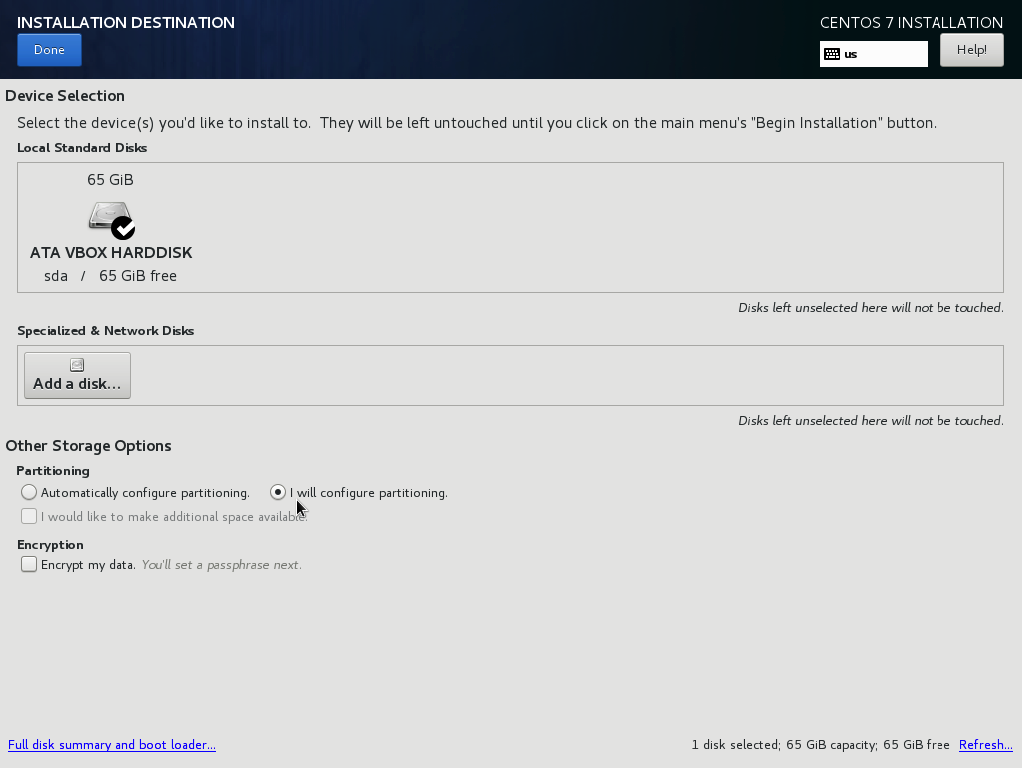
Click on the Installation Destination menu:

Select the hard disk drive and the I will configure partitioning option. Then click on Done:
Using the + button, create your own partitioning file system following the instructions in documentation prerequisites. Then click on Done:
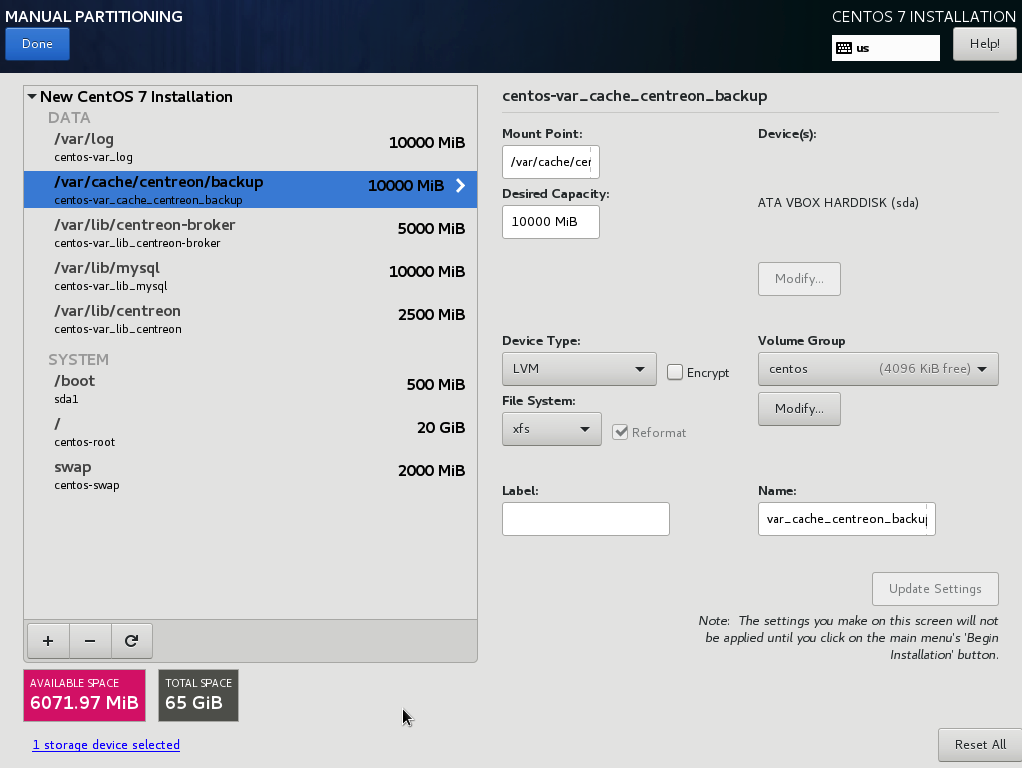
Note
It is recommended to use LVM as the default partitioning scheme.
A confirmation window appears. Click on Accept Changes to validate the partitioning:

Configuring the timezone
Click on the Date & Time menu:
Select the time zone and then click the gear button to configure the NTP server:
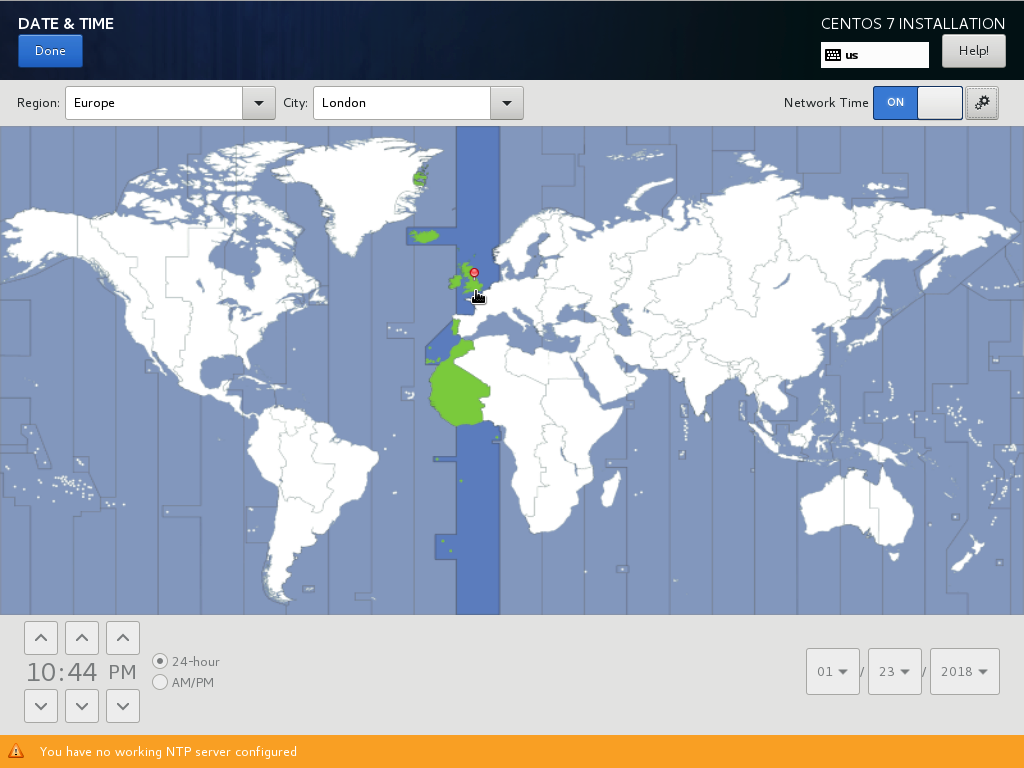
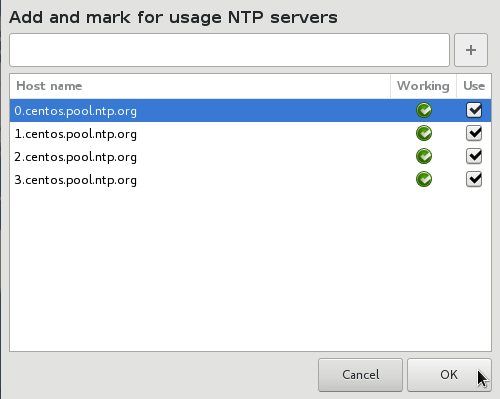
Type in the name of the NTP server you wish to use and click the plus button. Or, select one from the list of predefined NTP servers then click OK and then Done:
Note
It is okay that you can’t enable the “network time” option in this screen. It will become enabled automatically when you configure the network and hostname.
Configuring the network
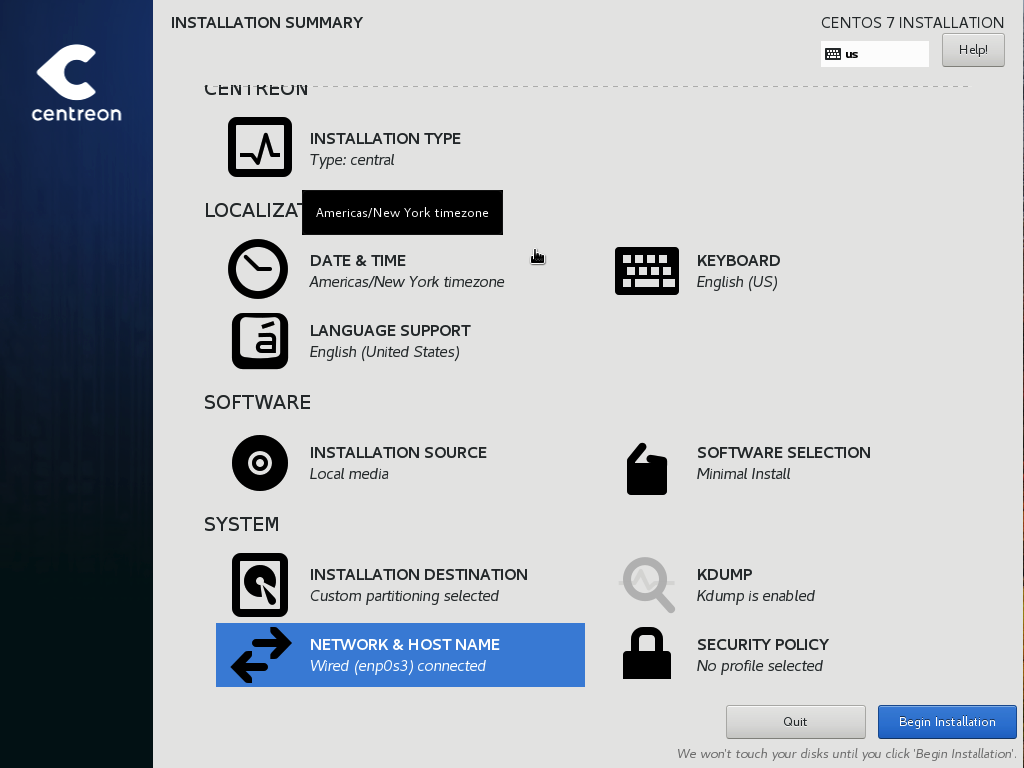
Click on the Network & Hostname menu:
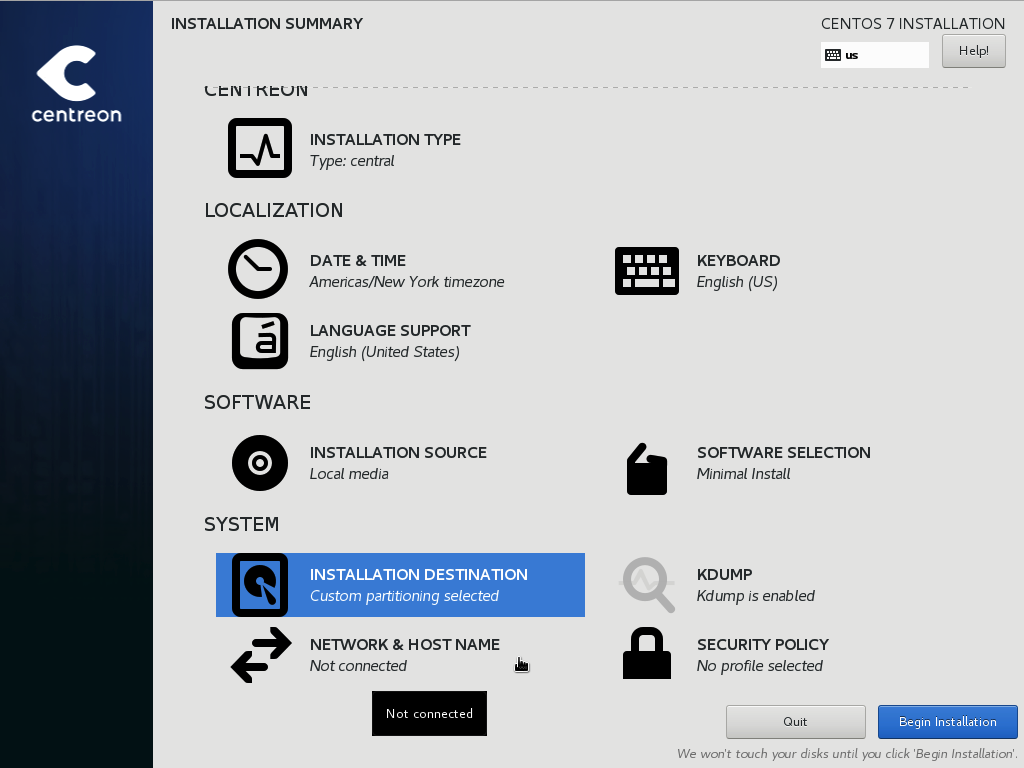
Enable all network interfaces by clicking the button in the top right from off to on. Then click on Done:

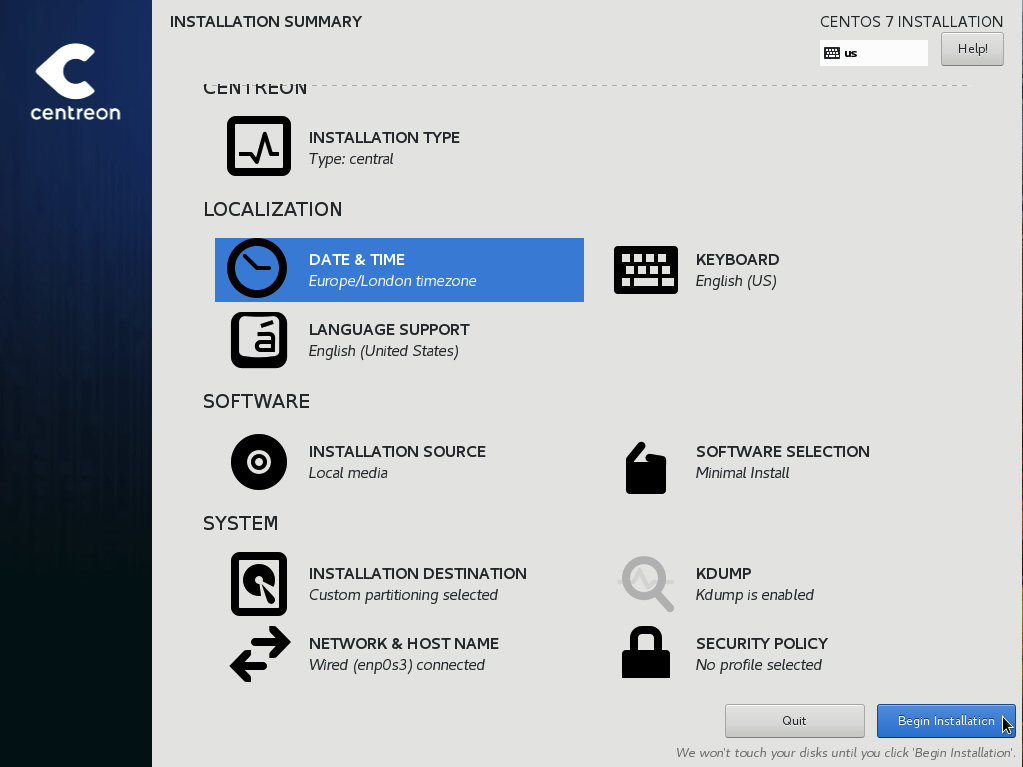
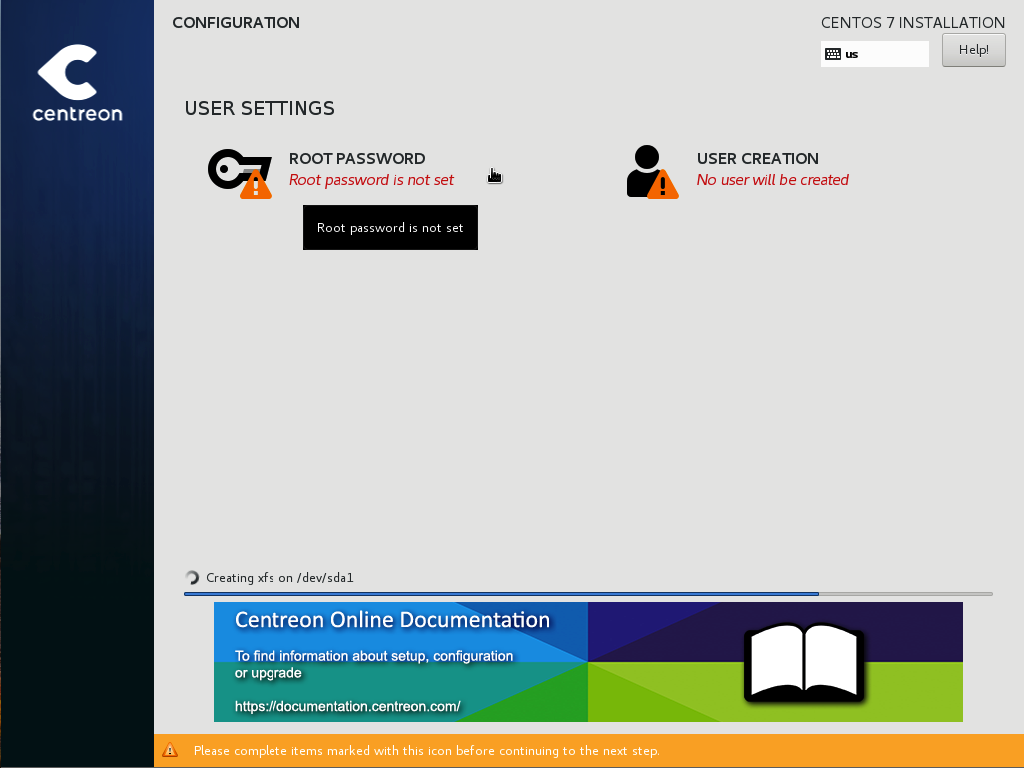
Beginning the installation
Once configuration is complete, click on Begin Installation:
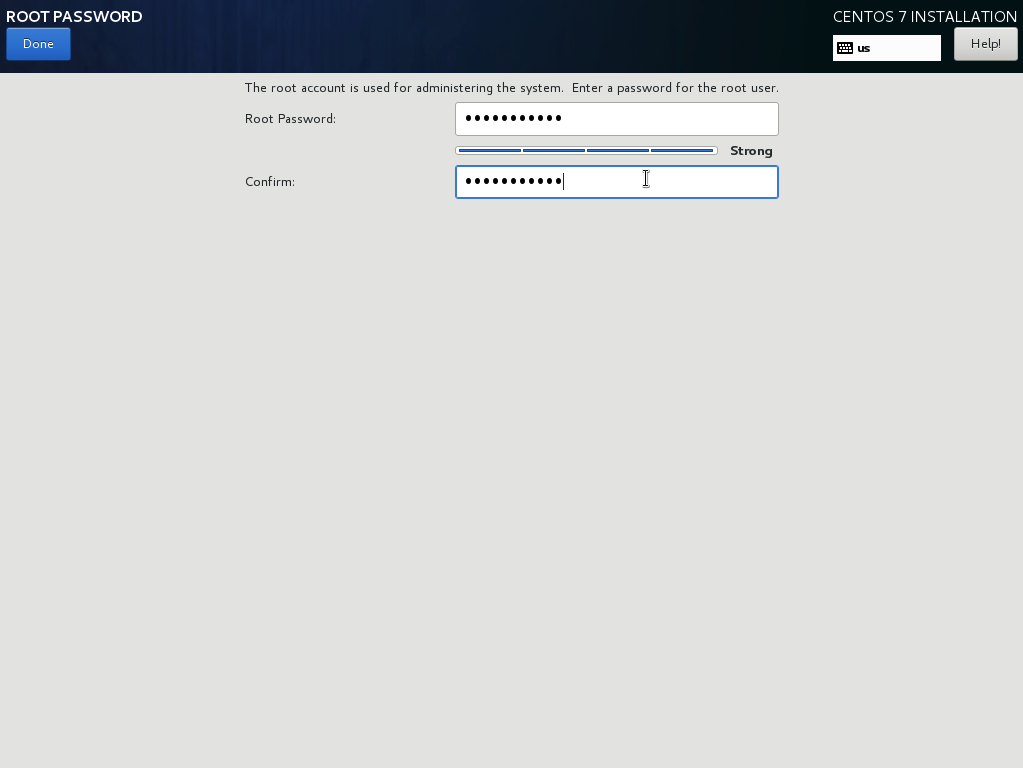
Click on Root Password:
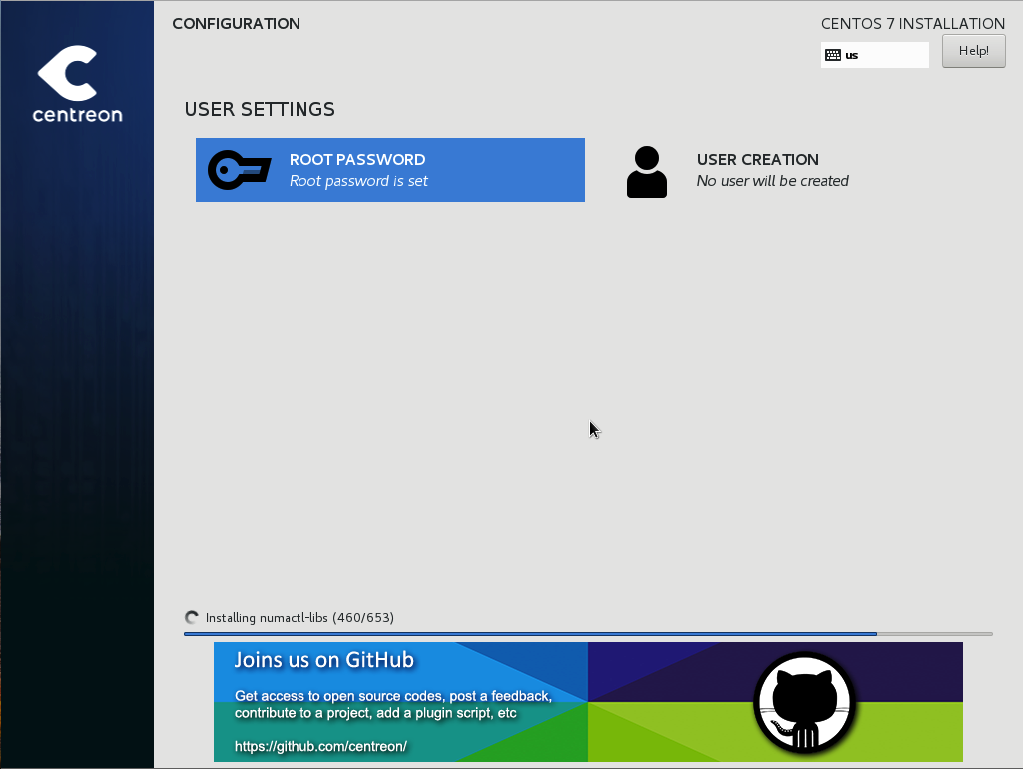
Define and confirm the root user password. Click on Done:
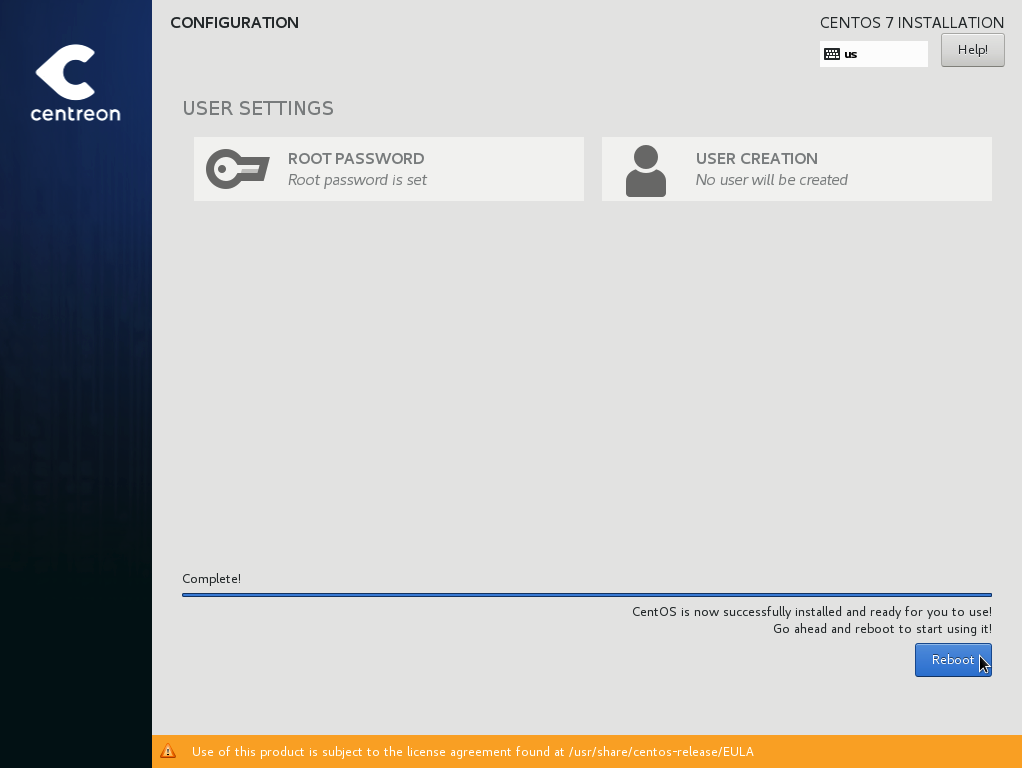
Wait for the installation process to finish. You can also use this time to add additional users to the system if you desire.
When the installation is complete, click on Reboot:
Updating the system packages
- Connect to your server using a terminal, and execute the command:
# yum update
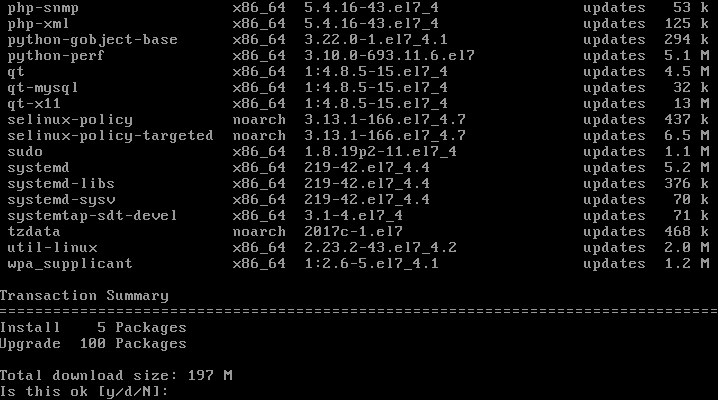
Accept all GPG keys if you are prompted:

- Then restart your server with the following command:
# reboot
Configuration
Note
To get the IP address of your Centreon server, uses the command:
# ip addr
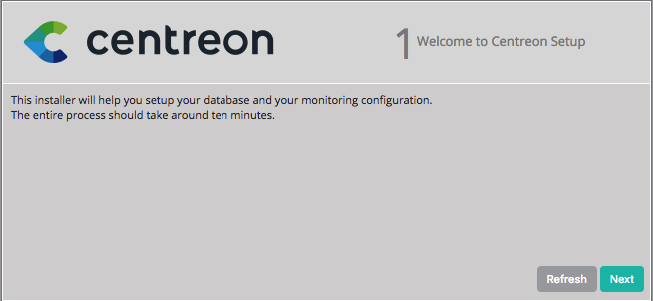
Log in to Centreon web interface via the URL: http://[SERVER_IP]/centreon. The Centreon setup wizard is displayed. Click on Next.
The Centreon setup wizard checks the availability of the modules. Click on Next.

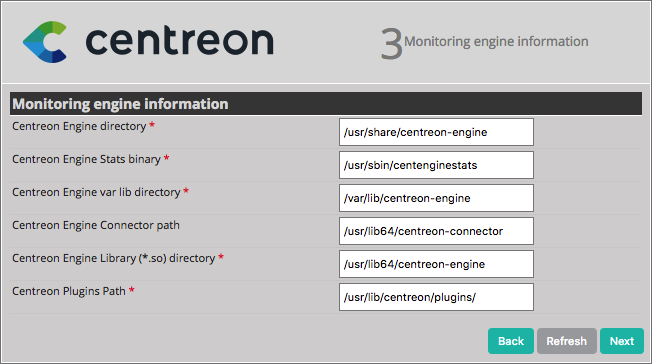
Click on Next.
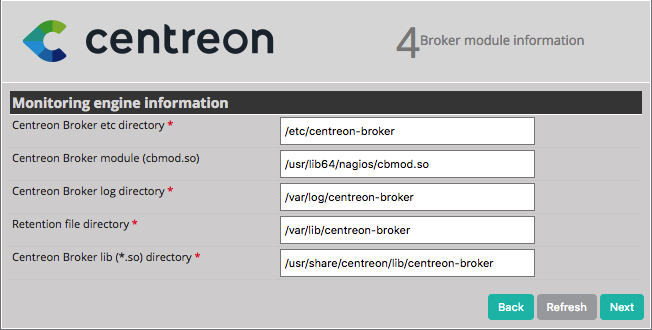
Click on Next.
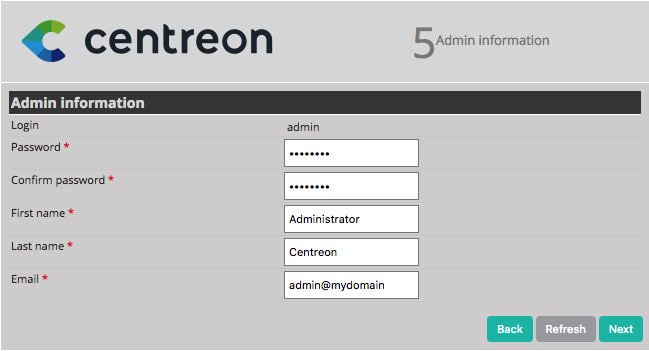
Provide the information on the admin user, then click on Next.
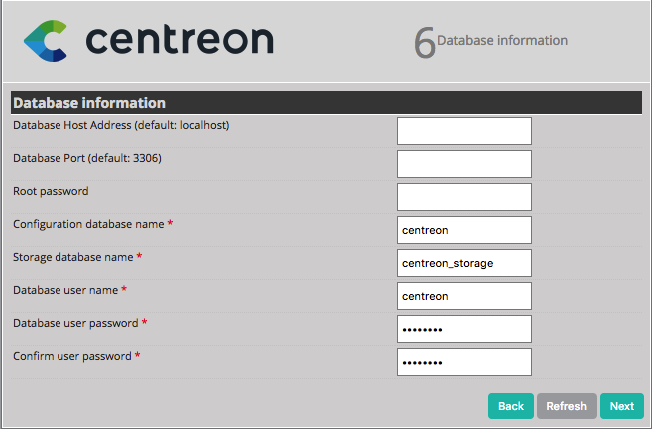
By default, the localhost server is defined, the database root user is set to root and the root password is empty. If you use a remote database server, change these entries. In this case, you only need to define a password for the user accessing the Centreon databases, i.e., Centreon. Click on Next.
Note
If the “Add innodb_file_per_table=1 in my.cnf file under the [mysqld] section and restart MySQL Server.” error message appears, perform the following operations:
Log in to the root user on your server.
Modify this file:
/etc/my.cnf
Add these lines to the file:
[mysqld]
innodb_file_per_table=1
open_files_limit=32000
Restart the mysql service:
# systemctl restart mysqlClick on Refresh.
Note
If you use a deported MySQL v8.x DBMS, you may have the following error message: error. Please have a look to this procedure to solve this issue.
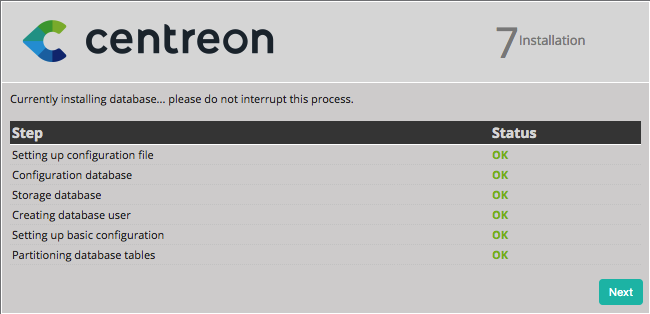
The Centreon setup wizard configures the databases. Click on Next.
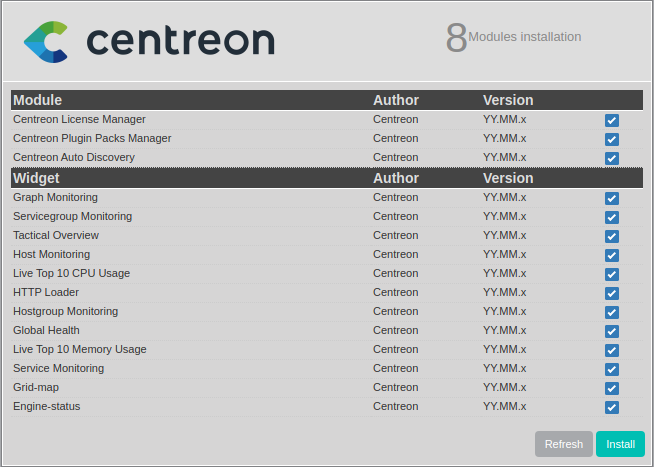
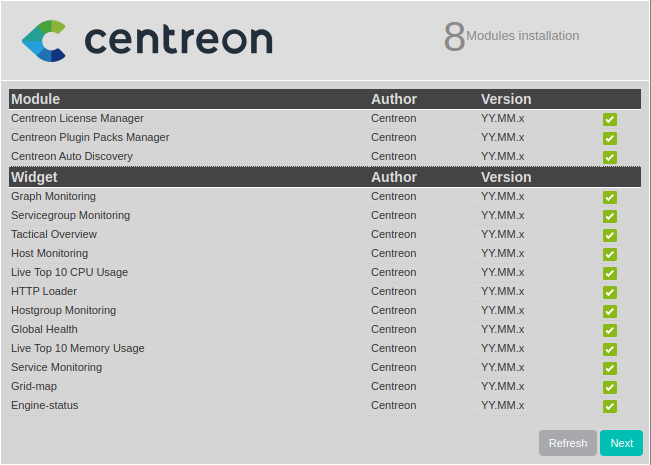
You will now be able to install the Centreon server modules.
Click on Install.
Once installation is complete, click on Next.
At this point, an advertisement informs you of the latest Centreon news and products. If your platform is connected to the internet, the information you receive will be up to date. If you are not online, only information on the current version will be displayed.
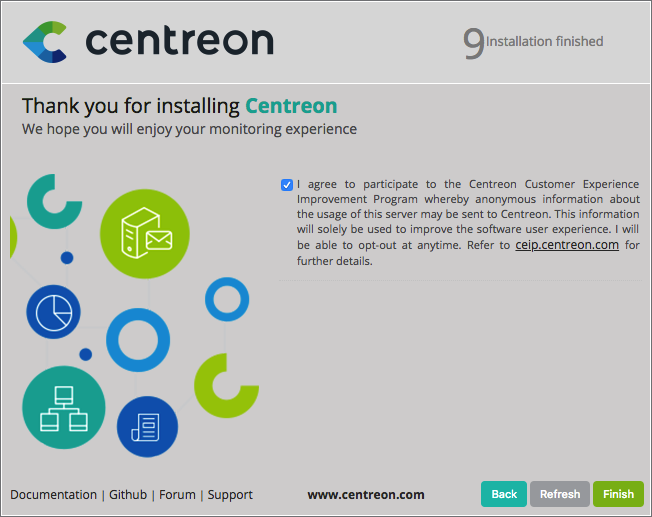
The installation is complete. Click on Finish.
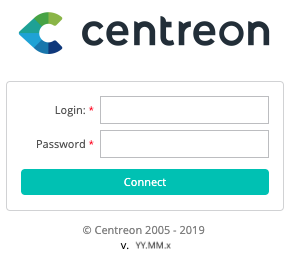
You can now log in.
Initialization of the monitoring
To start the monitoring engine:
From your web interface, go to Configuration > Pollers.
Keep the default options and click on Export configuration.
Select Central poller from the box input Pollers.
Uncheck Generate Configuration Files and Run monitoring engine debug (-v).
Check Move Export Files and Restart Monitoring Engine with the Restart option selected.
Click on Export again.
Log on to the root user on your server.
Start Centreon Broker:
# systemctl start cbdStart Centreon Engine:
# systemctl start centengineStart centcore:
# systemctl start centcoreStart centreontrapd:
# systemctl start centreontrapd
Monitoring is now working. You can begin monitoring your IT system.
To automatically start services at system bootup, run these commands on the central server:
# systemctl enable centcore
# systemctl enable centreontrapd
# systemctl enable cbd
# systemctl enable centengine
# systemctl enable centreon
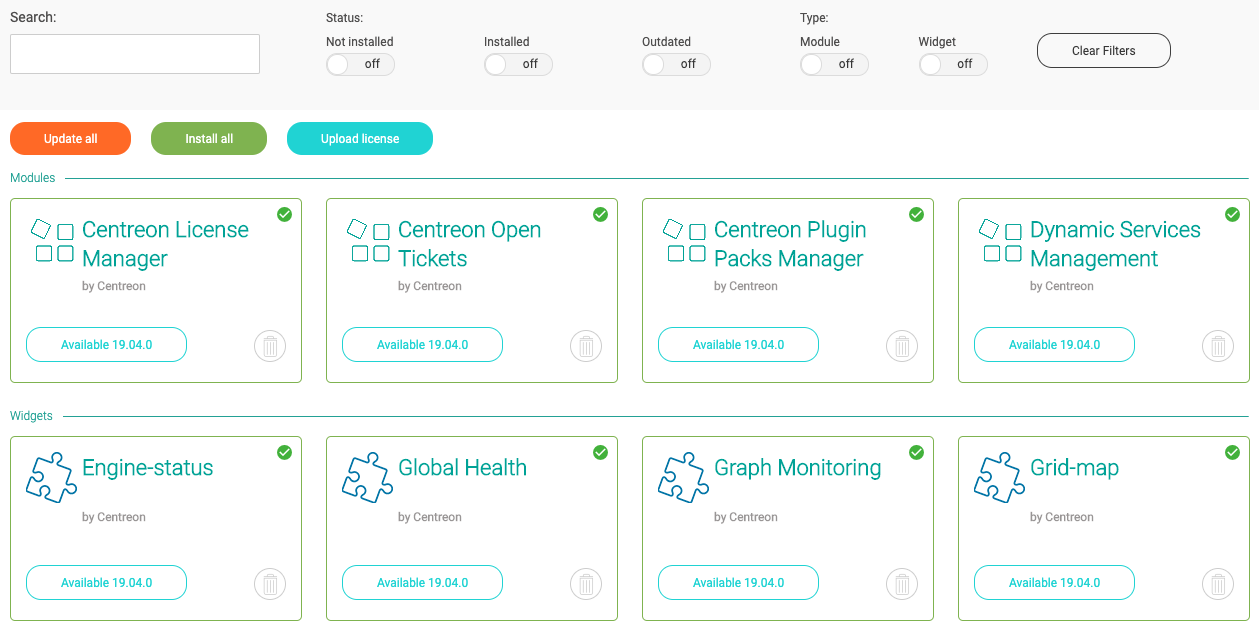
Installation of available extensions
Go to Administration > Extensions > Manager menu and click on Install all:
Quick start
Go to the quick start chapter to configure your first monitoring.